Are you looking for a way to re-order your blog posts in WordPress?
Blog posts on WordPress are ordered according to when they were published. By default, WordPress displays newer posts first and older ones at the bottom. Most of the time, the default post order works well for most publishers. However, there are some situations where you might need to put the posts in a different order.
There is no built-in functionality in WordPress to rearrange blog posts. However, you can still do it. There are three easy methods for doing this. The first two don’t require any plugins, but the last one does. So, In this post, we are going to share three easy ways that will help you change the order of your blog posts in WordPress.
Before we continue, let’s discuss why anyone would want to re-order the blog posts.
Why Re-Order Blog Posts in WordPress?
There may be several reasons for rearranging the order of your blog posts. For example, you may want to draw attention to the older content on your blog by placing it at the top of the page. It is also a good way to re-promote older content that is still useful.
Sometimes we can’t deliver new content regularly to visitors. By changing the order of blog posts, you can keep your regular visitors engaged for a while.
If your blog focuses on festivals and different events that occur annually, you can engage the traffic by placing posts about upcoming events at the top.
Some users don’t like the reverse chronological order of WordPress for blog posts and want to change it to a completely custom order. This article will help you to do this.
Let’s get started.
How To Re-Order Blog Posts in WordPress
All three methods have different benefits, so you have to decide which one you want to use. If you want to rearrange the blog posts in bulk, then we recommend you skip the first two methods and go with the third one.
1. Using Sticky Post Feature
We will use the sticky post functionality of WordPress in the first method. The sticky posts feature allows you to display specific posts at the top of the home page of your blog, above all other posts. To highlight a post, follow these steps:
- First, go to the block editor of the post that you want to make sticky.
- Then, click on the setting icon available at the top.
- Now setting pane will open up in the sidebar. There you will get “Stick to the top of the blog”. Just tick the blank field available in front of it.

- After that, click on “Update” to save the changes.
- You have successfully pinned this post to the top of the page. You can follow the same steps to pin other posts, but remember not to pin more than three or four posts.
2. Changing Post Dates Manually
We will use the built-in WordPress functionality to re-order our blog posts in this method as well. In this method, we have to change the published date to the newer one to bring the older post to the top.
- First, open the post editor of the post that you want to move up.
- Then, click on the settings icon.
- After that, click on publish date option available in the “Status & visibility” drop-down panel. A popup will open up where you can change the published date of the post.
- To bring the post to the top, change the date to a newer one. To drop it down, select an older date.

- After changing the date and time, click on the update button to save the changes.
- That’s it! You’ve successfully moved the post to the new location.
3. Using a Dedicated Plugin
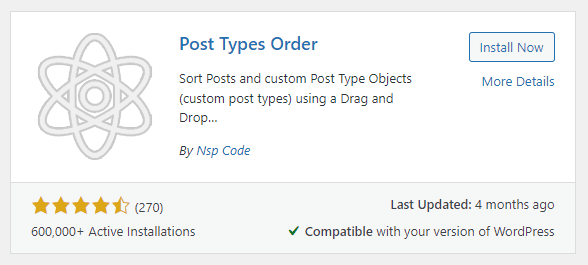
In this method, we have to take the help of a plugin called “Post Types Order”. This is the best option out of the three methods. The Post Types Order plugin allows you to arrange the posts by dragging and dropping them at your desired location. The main advantage of this method is that the timestamps of the posts will remain unchanged.
- First, go to “Dashboard>>Plugins>>Add New” and search for the Posts Types Order plugin. Then, install and activate it.
- After activation, you don’t need to configure anything, just go to the “Posts>>All Posts” page on your WordPress admin panel. On this page, you can arrange the posts in any order you want by dragging and dropping them.

- That’s it, you have done it. It is the best and simplest method to re-order blog posts in WordPress.